


When developing applications we are always using the terminal, so why not make it look half-decent by using themes and plugins to improve our workflow?
We will be using WSL2 (Windows Subsystem for Linux) to make our terminal look and feel awesome while also installing plugins to improve our productivity when using the terminal.
Let me cut to the chase and get you started on making your terminal look awesome.
Just a side note, before you get started you may need to enable virtualization on your machine.
1. Install Windows Terminal
- In the Microsoft Store app on Windows, install Windows Terminal
2. Install Ubuntu
In the Microsoft Store app on Windows, install Ubuntu
Once you have installed the app, search for it and open it.
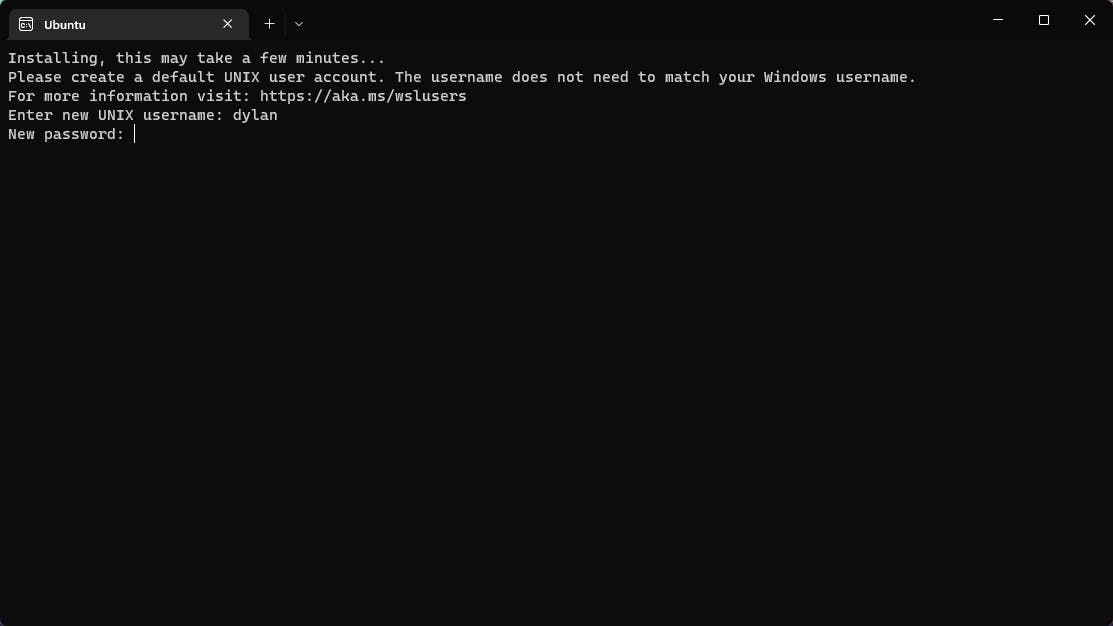
You will be asked to enter your UNIX username and password as shown below:
Once you have created your UNIX user, you will see the following:
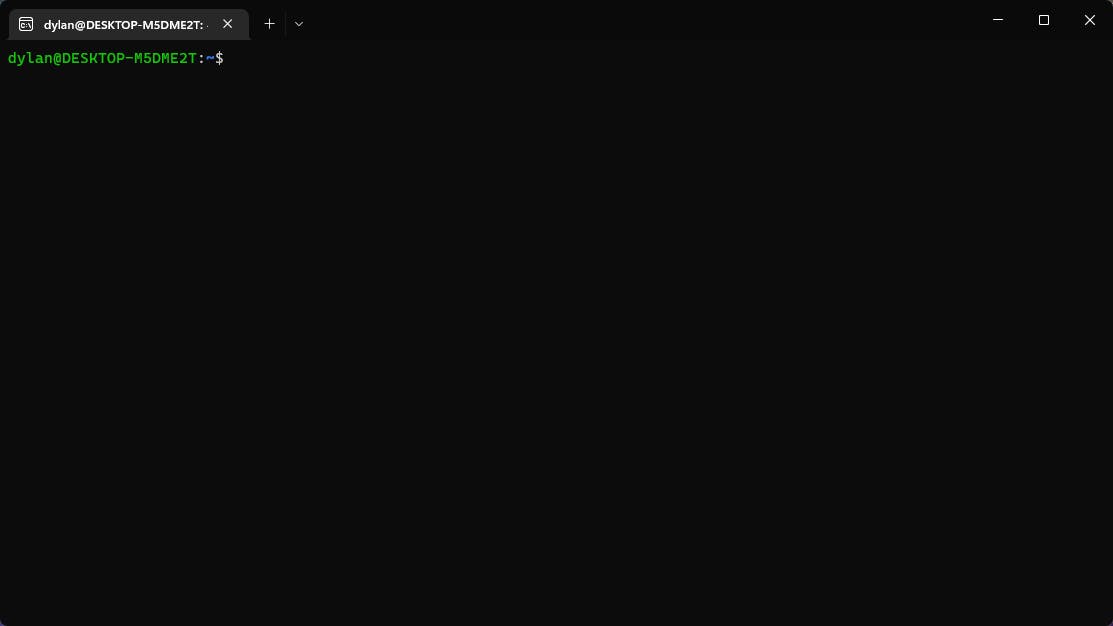
Now we can start installing some packages!
3. Installing Zsh (Z shell)
Before we get started installing our shell, let's resynchronize the package index files from their sources by typing
sudo apt updatein the command line.Now, let's install Zsh using
sudo apt install zsh -y
4. Installing Oh My Zsh
If we want to be able to install custom themes and plugins we will need to install this awesome framework for Zsh called Oh My Zsh.
First, let’s install cURL using
sudo apt-get install curlNow, type the following to install Oh My Zsh:
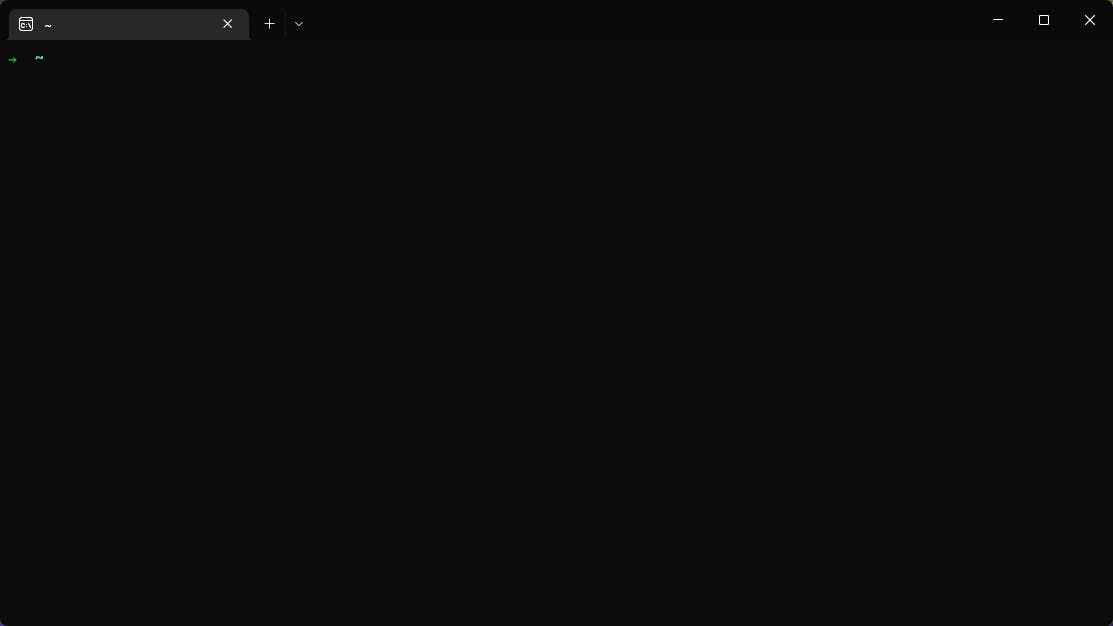
sh -c "$(curl -fsSL https://raw.githubusercontent.com/ohmyzsh/ohmyzsh/master/tools/install.sh)"At this point your terminal should look like this:
5. Configuring Our Windows Terminal
Before we continue to install our custom themes and plugins, let’s change our settings in our Windows Terminal.
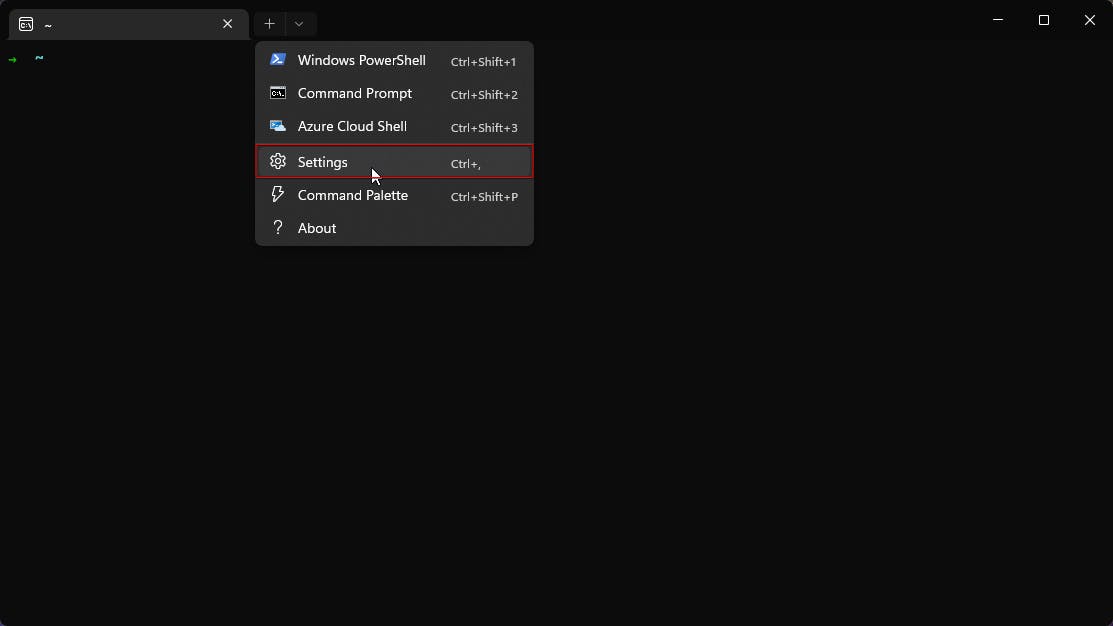
First, let’s head over to the settings in our Windows Terminal
Now, under Profiles, click “Add a new profile”
Select the dropdown for “Duplicate a profile” and choose “Ubuntu"
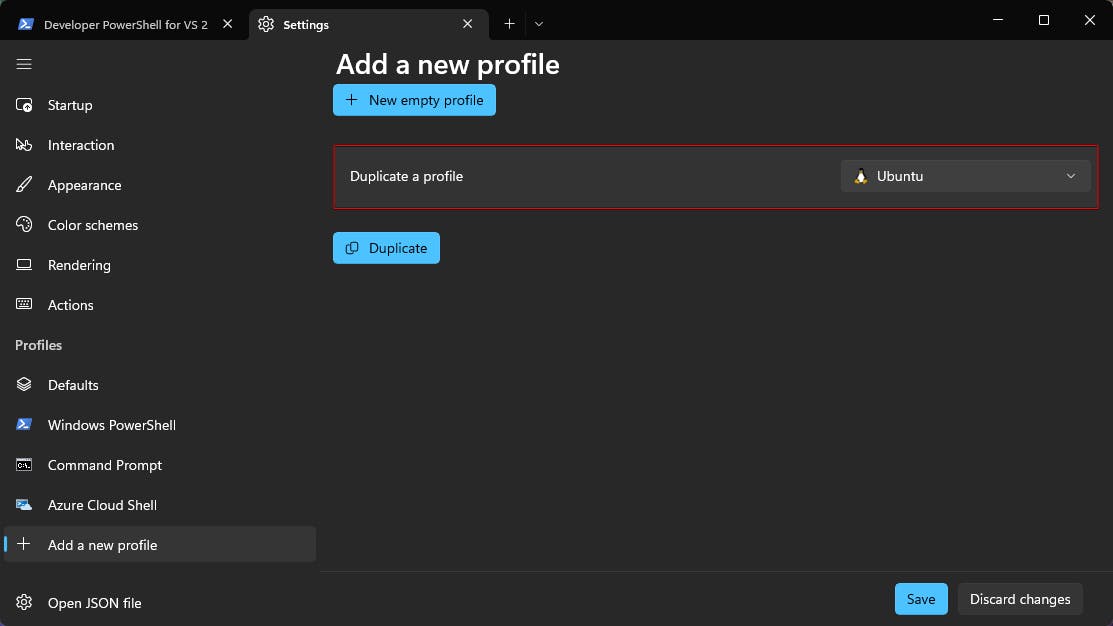
Now, just click the blue “Duplicate” button.
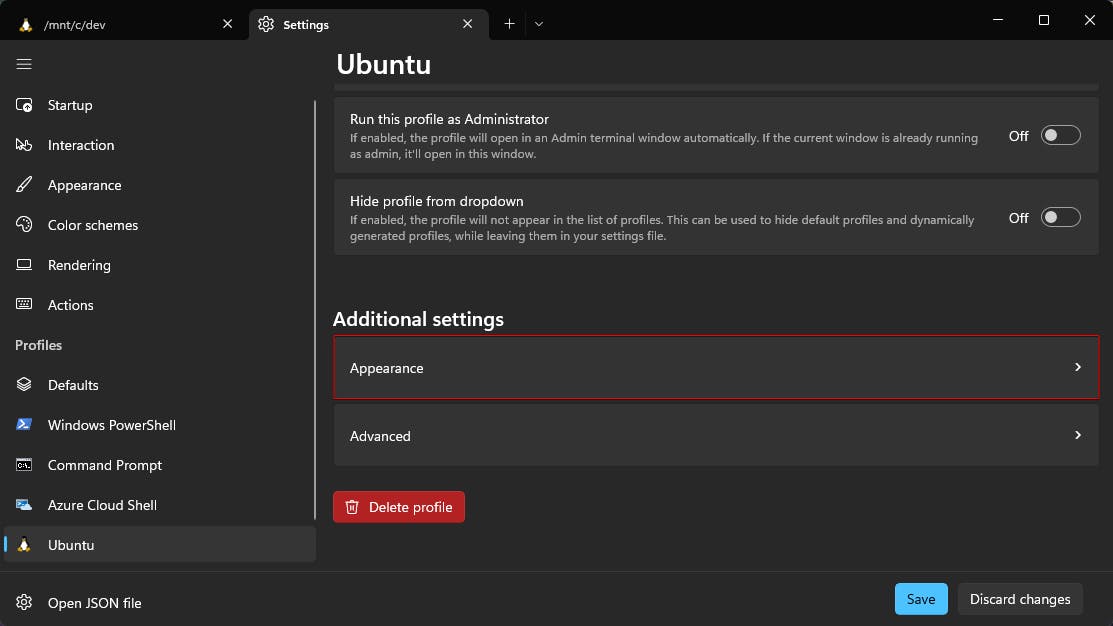
You can now click into your new “Ubuntu” profile that you just created and edit the name and starting directory for now.
For the name, I just changed “Ubuntu (Copy)” to “Ubuntu”
For the working directory, I changed this to where I keep all of the projects that I work on.
- NOTE: When using Linux
C:\devwill instead be/mnt/c/dev
- NOTE: When using Linux

Now let’s start changing the look of our terminal. Scroll down to the bottom of the profile that you created and click “Appearance”.
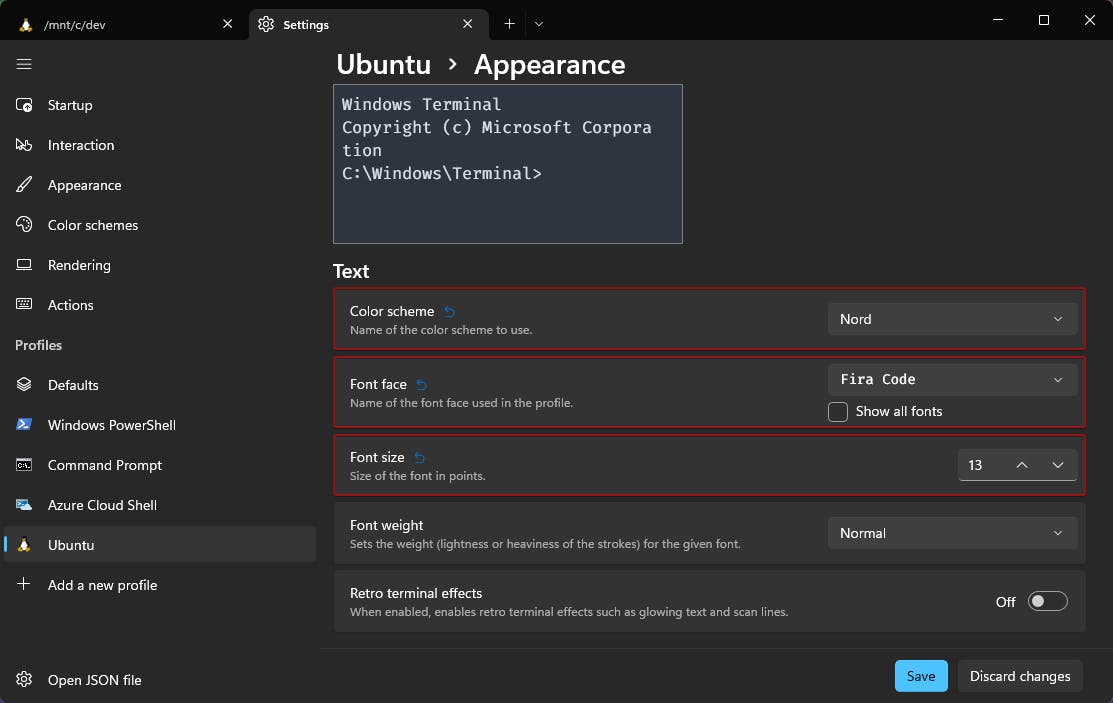
I will be changing the “Color scheme” to a color palette that I use across multiple programs which is called Nord. I will also be changing the “Font face” to Fira Code and the “Font size” to 13
NOTE: You should download Fira Code or any other Nerd Font to make sure icons show when you install custom themes.
- To download a font go to nerdfonts.com
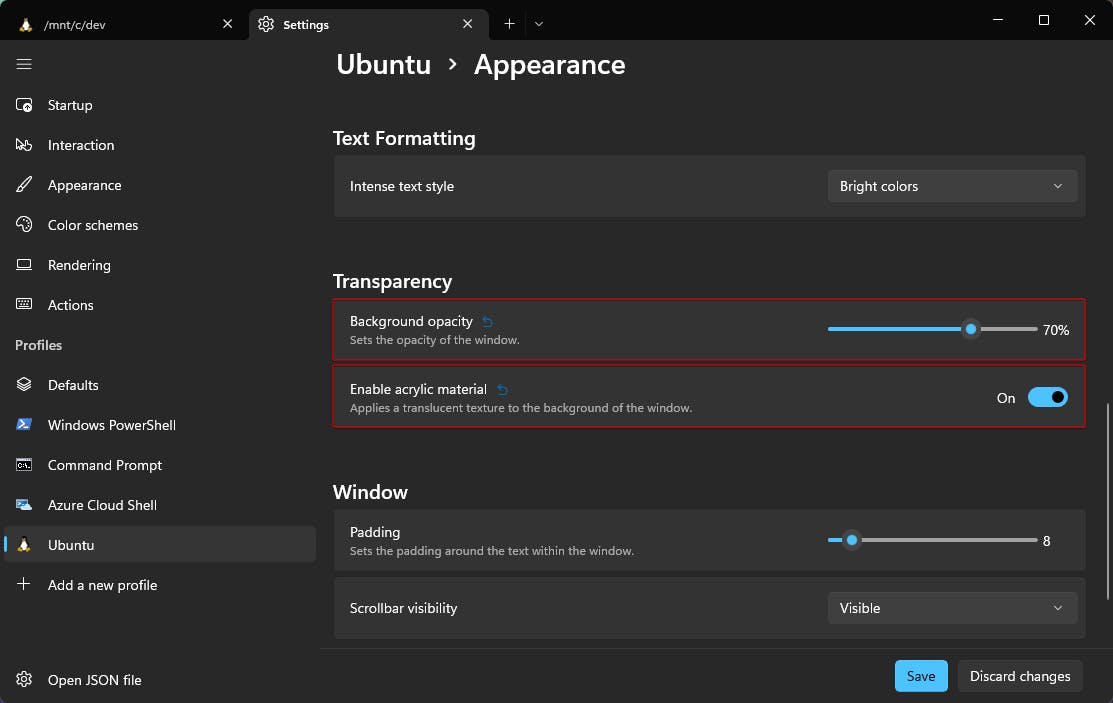
Now, we just need to change two more settings to be done with configuring the terminal. Scroll down until you see “Transparency” change the “Background opacity” to 70% and make sure “Enable acrylic material” is set to On.
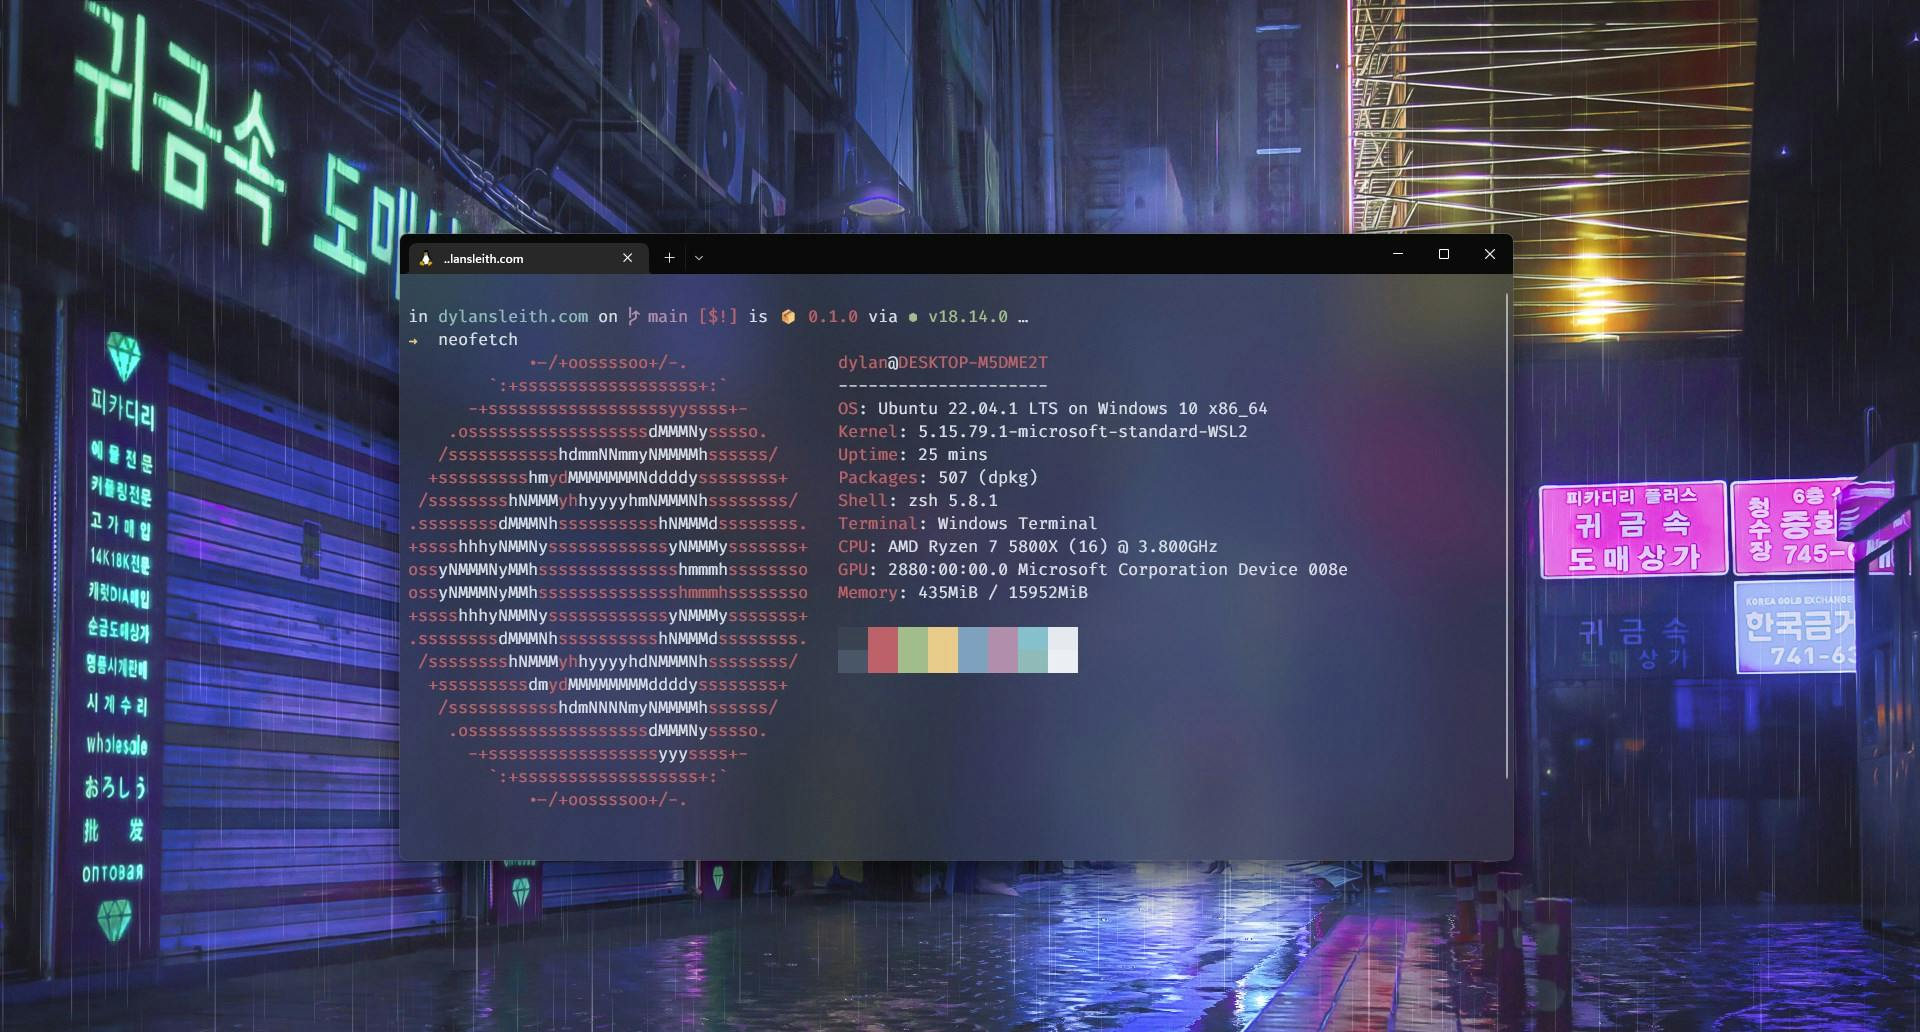
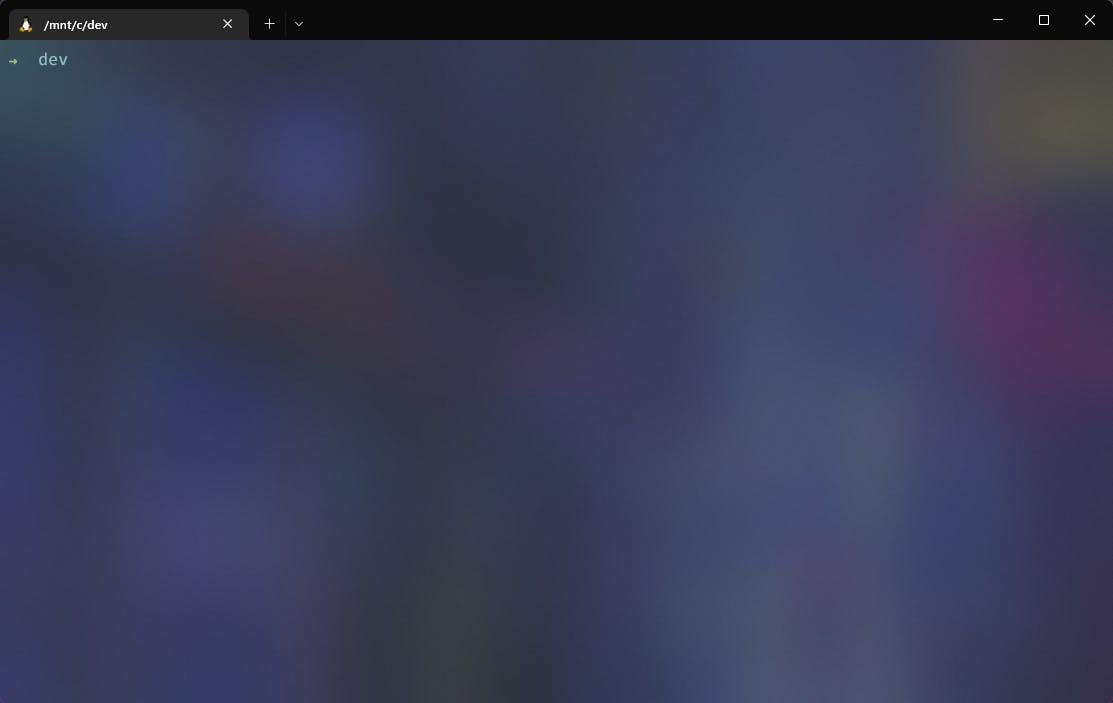
At this point our terminal should look like this, will probably be a different color depending on what color scheme you choose
6. Installing A Minimalistic Theme
For our theme, we will be installing spaceship-prompt. This is a great theme as it is very minimal and clean.
First, we need to clone it
git clone https://github.com/spaceship-prompt/spaceship-prompt.git "$ZSH_CUSTOM/themes/spaceship-prompt" --depth=1Now we need to Symlink
spaceship.zsh-themeto your oh-my-zsh custom themes directory:ln -s "$ZSH_CUSTOM/themes/spaceship-prompt/spaceship.zsh-theme" "$ZSH_CUSTOM/themes/spaceship.zsh-theme"Now we need to edit our
.zshrcfile, type the following to edit our config in VSCodecode ~/.zshrcSet
ZSH_THEME="spaceship"in your.zshrcNow, at the bottom of your
.zshrccopy and paste the following spaceship-prompt options:# spaceship-prompt options SPACESHIP_PROMPT_ADD_NEWLINE="true" SPACESHIP_CHAR_SYMBOL=" \\uf0e7" SPACESHIP_CHAR_SUFFIX=(" ") SPACESHIP_CHAR_COLOR_SUCCESS="yellow" SPACESHIP_PROMPT_DEFAULT_PREFIX="$USER" SPACESHIP_PROMPT_FIRST_PREFIX_SHOW="true" SPACESHIP_USER_SHOW="true" export LS_COLORS="di=34;40:ln=36;40:so=35;40:pi=33;40:ex=32;40:bd=1;33;40:cd=1;33;40:su=0;41:sg=0;43:tw=0;42:ow=34;40:" zstyle ':completion:*:default' list-colors ${(s.:.)LS_COLORS}Great, we are almost there now, all we need to do is to download some awesome plugins for better productivity
7. Installing Plugins
There are a lot of plugins for Zsh so I will only show you how to install one plugin using Oh My Zsh.
The top plugins that people install are zsh-autosuggestions, zsh-syntax-highlighting, etc so let's install zsh-autosuggestions
First, type the following:
git clone https://github.com/zsh-users/zsh-autosuggestions ${ZSH_CUSTOM:-~/.oh-my-zsh/custom}/plugins/zsh-autosuggestionsNow we need to edit our
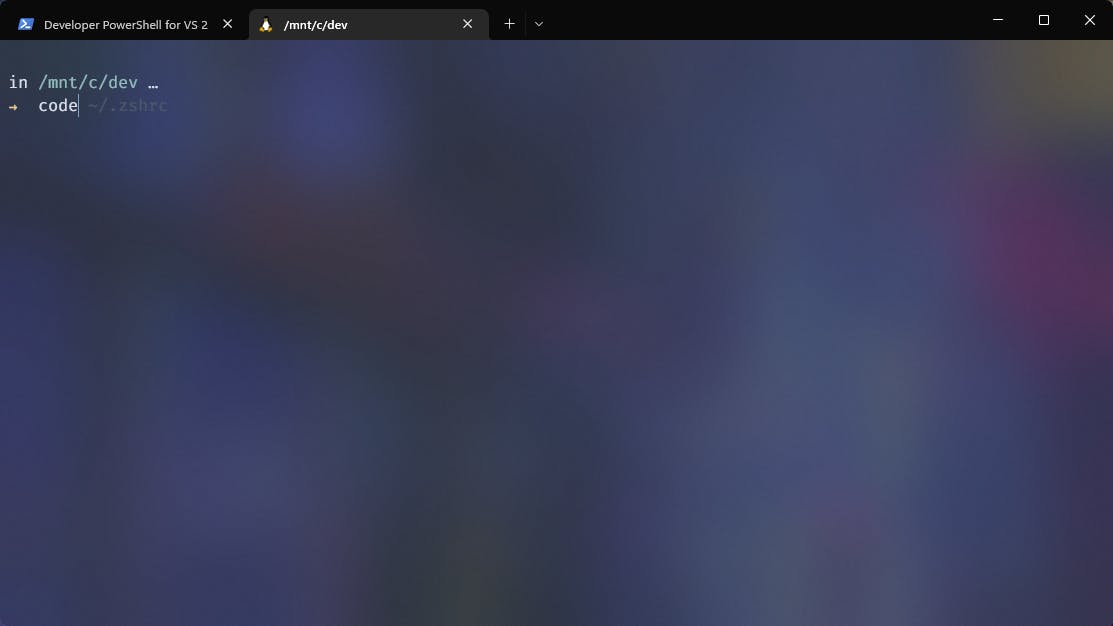
.zshrcfile, type the following to edit our config in VSCodecode ~/.zshrcNow we need to say which plugin we would like to load:
plugins=(git zsh-autosuggestions)As you can see now we are getting a suggestion on what we may want in our code editor.
Congrats🎉 You are done with making your terminal look superior, I hope you will find this useful and use something like this going forward since it definitely does make your time in the terminal more fun.
Thanks for reading!
Have a question? Connect with me via Twitter or send me a message at hello@dylansleith.com